


Thank you for your interest in using our staffing and management system for your events! This guide will go over the basic steps needed to browse events others have listed, post your own event in our system, and begin accepting judge applications.
Once you have created your account and signed into the website, the two main pages to take note of first are ‘My Events’ and ‘Events’. The links to both of these are located in the left sidebar which appears after login.
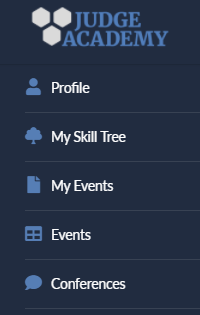
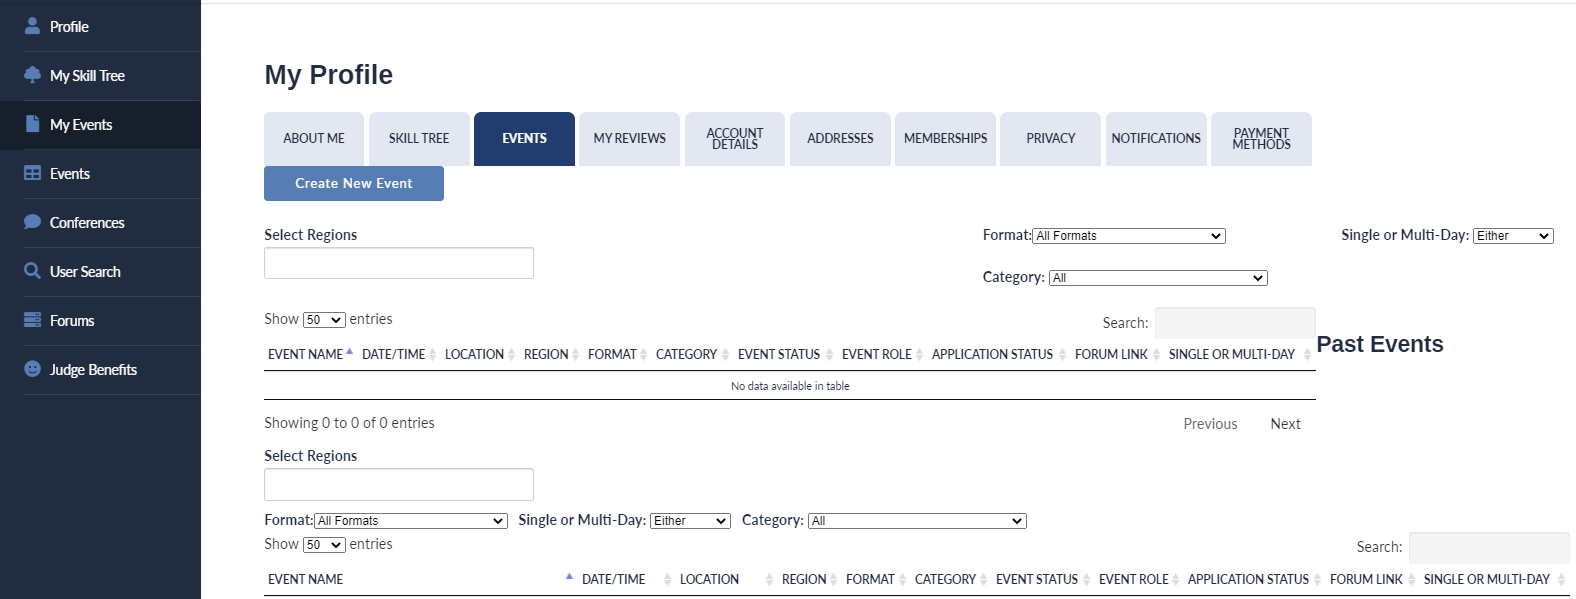
While they are similar, ‘Events’ is a filterable list of all of the events in the system (initially based on the region of the viewing user), while clicking ‘My Events’ will take you to the ‘Events’ tab of your User Profile which is a list of events you are either participating in or you are managing. From either page you can click the ‘Create New Event’ button to add one to the directory.
The ‘Create New Event’ form will ask for the following details:
- Format – Which gameplay format will be used for you event?
- Event URL – Use this field of an additional event or store website
- Event Name – Give your event a descriptive and catchy title!
- When (Date/Time/Timezone) – When are you hosting your event?
- Where (Location Name/Address) – Where should people go? This will also be displayed using Google maps for directions
- Details – This is the place to leave an overall description of the event
- Category – Select the type of event you are hosting (FNM, Open House, Game Day, etc)
- Event Image – You can upload a logo/image for your event that will be posted on its page
- Applications/Registration – Check this box to allow judges to apply for your event and to define the roles they will fill
We want to draw specific attention and give further explanation to the ‘Enable Registration for this event’ checkbox, and the subsequent Roles editor. Using ‘Edit’ button below each role you can select which role you are looking to acquire staff for, how many of them you are looking for (spaces), when you’ll need them available, and any additional information you may want that role to be aware of in the description box.
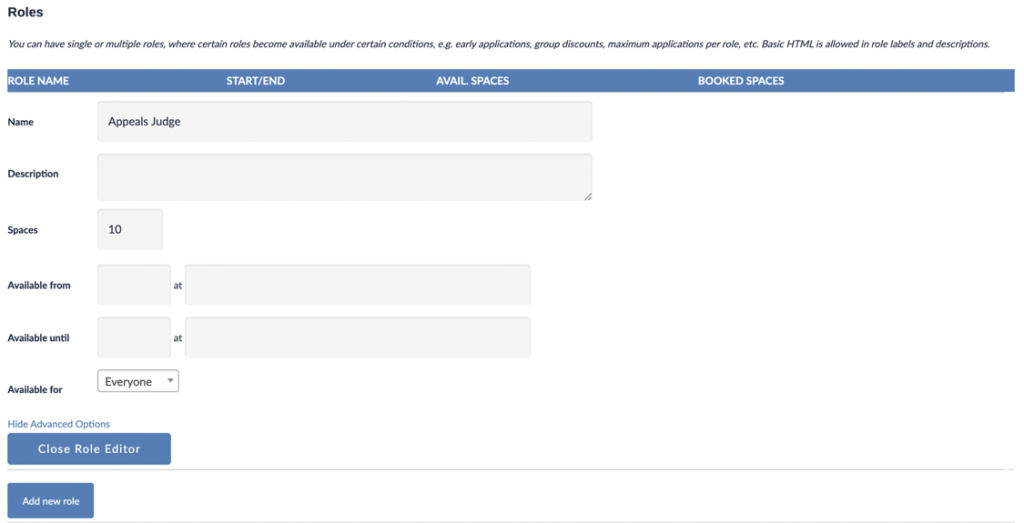
Judges looking at your event will be able to click their own checkboxes for which roles they are interested in, indicate their preferred position (if applying for multiple), and you’ll see that sorted on your applications dashboard once that happens. More about the application dashboard in a bit! You can then use the ‘Application Questions‘ tool to create any questions you’d like applicants to answer. There are are a few formatting options you can choose for your questions:
-
- Text – This will create a short text field for judges to answer a question
- Text Area – This will create a much larger text box, suitable for longer answers
- Checkbox – This will create an array of checkboxes that applicants can choose
- Radio – This will create an array of circular buttons where a user must select one of the choices
- Select – This will create a dropdown menu and answer responses where one can be selected
- Multiselect – This will create a dropdown menu of answer responses where any number can be chosen
When you’re finished with all these details of your event, click ‘Submit Event’.
Now, from the home page you can click ‘My Events’ to see any events you are connected with – either managing or for which you are staffed. If you are the manager for an event you will see the ‘Event Dashboard’ link next to the name.
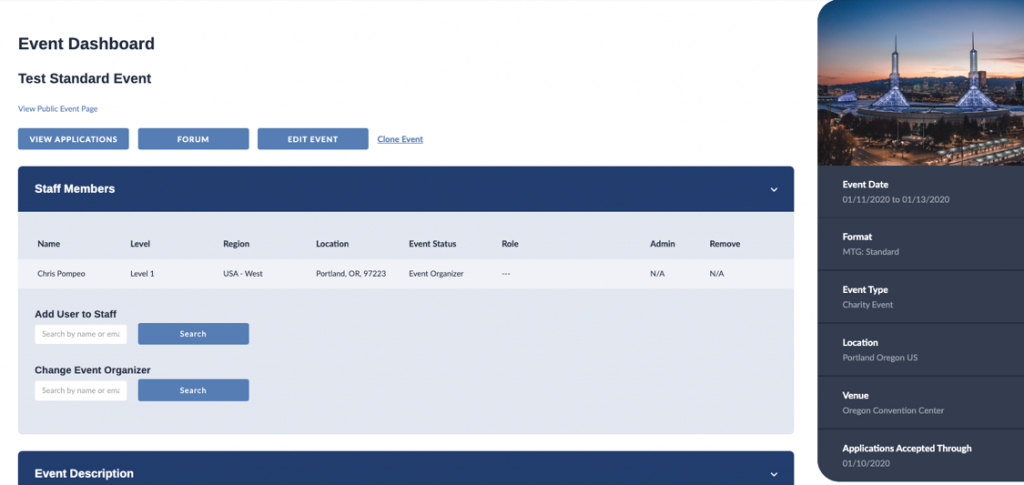
From this dashboard you can perform a few different tasks:
- View Applications
- Accessing the ‘Application Summary’ with this button will also allow you to export your applications into a CSV file for use in other programs. The gear icon will allow you to customize which data is exported.
- Go to the specific event’s forum
- Individuals who are staffed will have access to a specific forum exclusive to the event.
- Edit the original setup of the event
- Clone or delete the event
- Manage staff members and their roles
- Manually add staff or change the organizer
- An individual will need an account on the website before you are able to add them as a staff member to your event.
- Upload files (schedules, plans, etc) for your staff
- Send emails to specific groups of people
We are excited for you to use this system! If you have feedback please let us know what you think using the ‘Contact Us’ form.